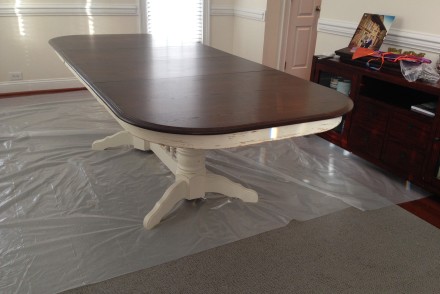
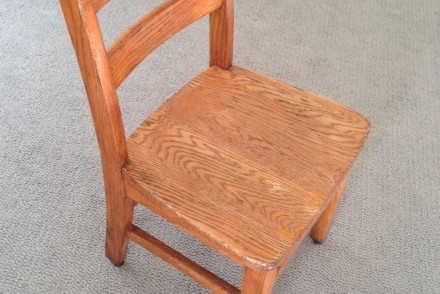
Finally! Let’s not discuss how long it took me to finish this part of the ugly oak refurb project. Also, I’ll confess that after alllllll this time, I’ve only gotten ONE chair out of SIX completed.
Want to know why? Because a very detailed chair is a pain in the booty to refurbish. Spindle. Spindle. Spindle. Then some more spindles! And OH-YOU-FORGOT-ANOTHER-SPINDLE. That’s right. And then you get it “done” and decide it looks a little too painted, and your OCD kicks in, and before you know it, you’re the world’s biggest slacker. Okay, maybe that’s a little dramatic, but still, this single chair took me a while. But I’m in love with her. And I can’t wait until her five siblings join her around their beautiful mother table.
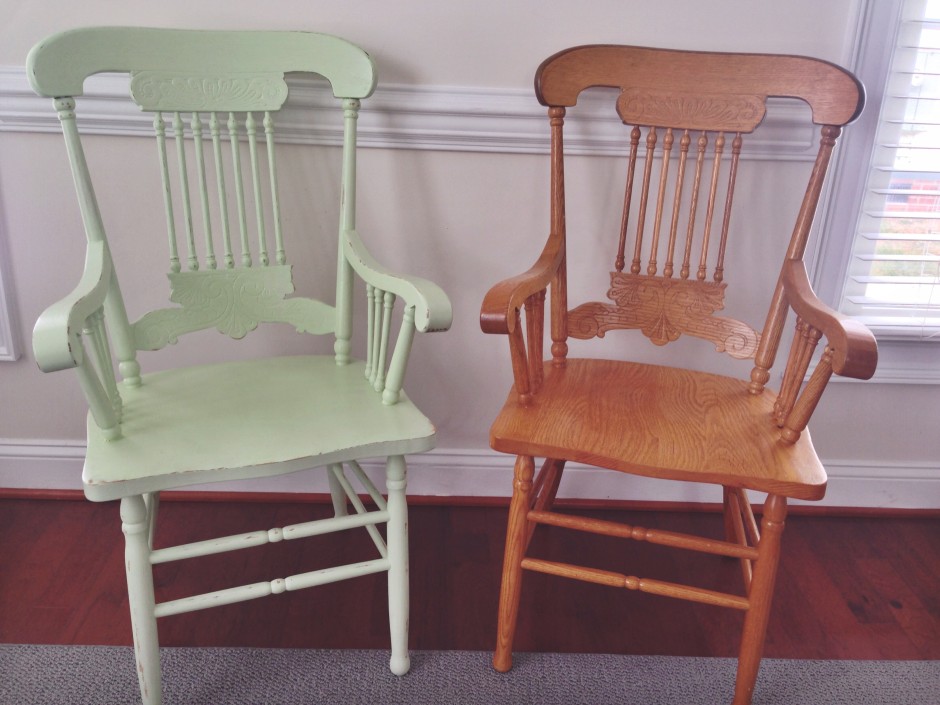
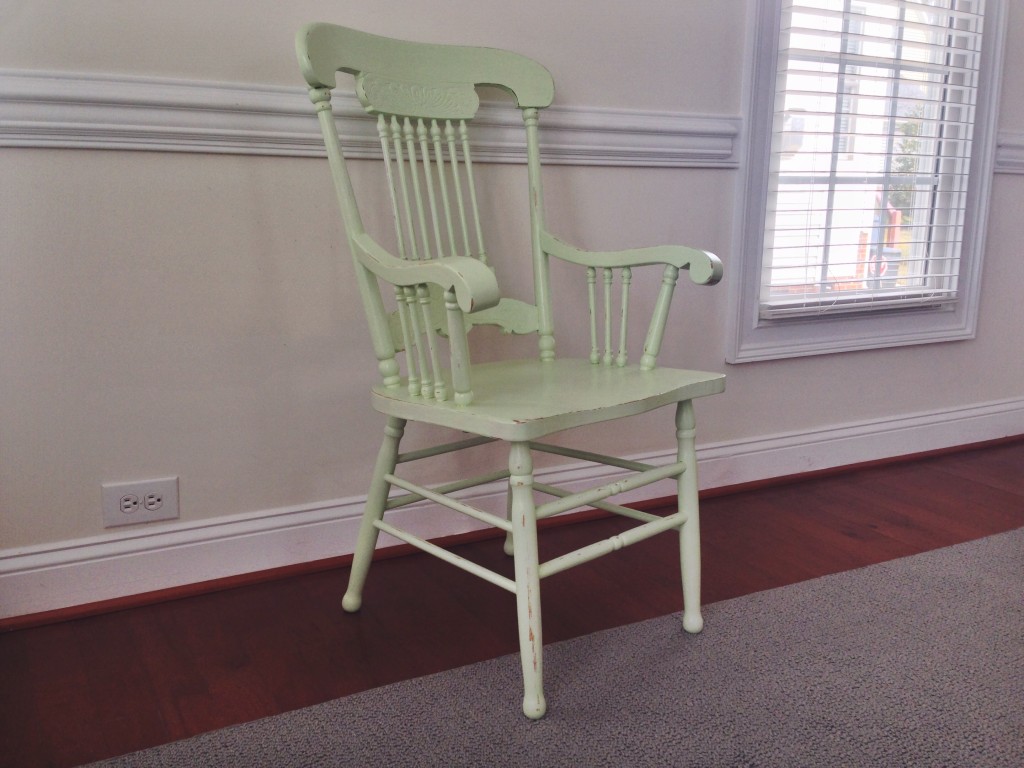
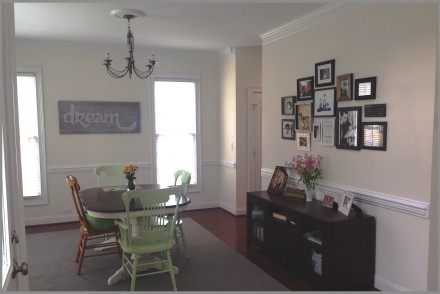
Deciding on what color I wanted the chairs to be was a process in and of itself. I Googled. Pinterest-ed. Collected paint swatches from Lowes. And it was hard because I knew I wanted a POP of color, but I wanted to steer clear of the primary colors. I wanted bright, and light, and cheerful, but still something that kept with the country-cozy theme I was shooting for with the table. But different from the table. All of that landed me on this minty-green swatch from Valspar. The swatch actually looked a little less bright and crisp on paper. So the finished product was a nice surprise. It’s really special and unique up against the dark top/light base of the table. And I love it. Good contrast. And it’s called Homestead Resort Spa Green (6004-5B).
Get creative with your color choices. That’s part of the fun of this kind of stuff. I mean obviously, this same color is up for grabs if you can see it around your own table. I won’t be mad. But there’s beauty in originality, right? And there’s a vast world of colors out there, so have some fun!! Mix it up. And please comment, or link, or email me, or contact me someway somehow so I can swoon over your work!!
Now onto the laborious process…
You might be surprised to find out that I did not use chalk paint for the chairs. Because they will get much use, and because they will stand out, I wanted to keep a smooth finish. Most of what I researched warned me against NOT sanding before painting. They all said the paint wouldn’t stick. And I’m here to smile and say that they were wrong. Turns out, all you need is a good all-purpose primer and sealer. Keeps the oak’s natural oils in, keeps moisture and stains out, AND gives your paint something to stick to. win-win-win.
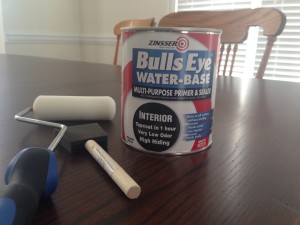
This Bulls-eye water based primer is good stuff, and next to some of the other options on the shelf, it was on the less expensive side. Can’t say anything negative about it, except that the consistency is a little thin, so I had to put 2 good coats on to get the coverage I needed before I was able to paint. Maybe that doesn’t seem like a big deal at first read… But I can assure you that with the details and number of spindles on my set of chairs? Two coats turned into HOURS of work. But it is worth it, I promise.
I’m pretty sure I saved myself a lot of frustration by opting to use foam applicators and foam rollers instead of regular paintbrushes. The foam was perfect for getting in between all the nooks and crannies, and made things go a little faster, I’m sure. And it kept the cost low at less than $0.75 per applicator. The rollers were a little more costly, but turns out they’re really easy to rinse out. So I was able to get all the priming and painting done on one chair with just one roller. Because of rinsing. Also, if you’re wondering why foam? Because the paint goes on smoo-hoo-hoothe! No brush strokes to be found.
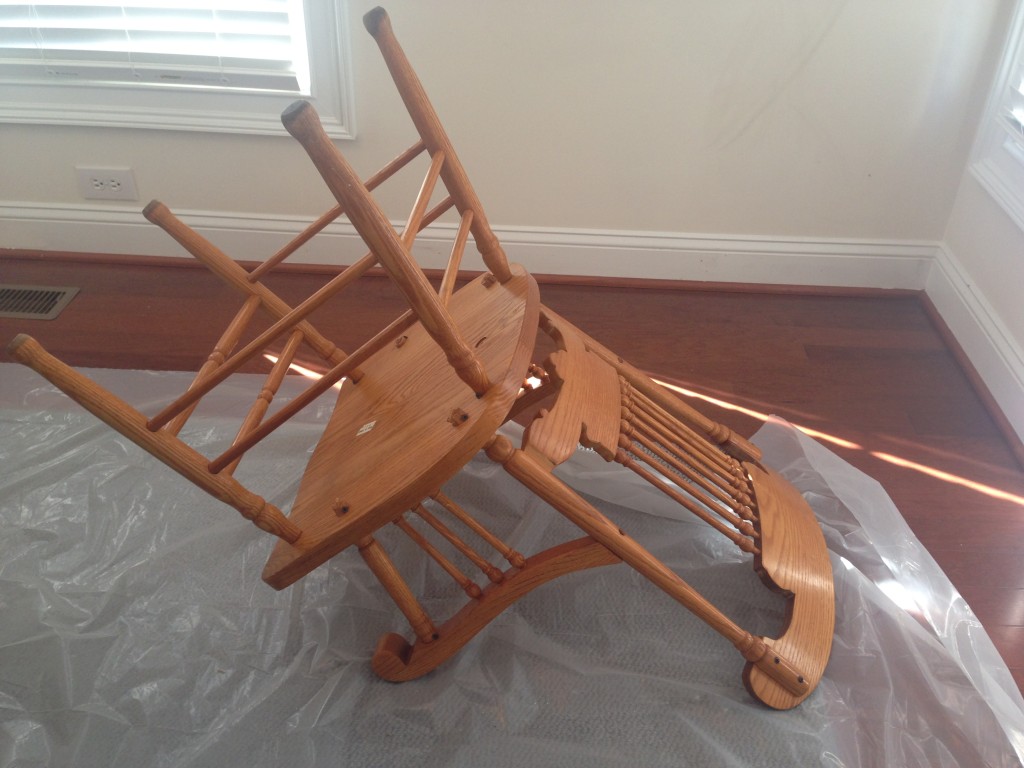
Ready? Give your chair a good wipe-down, turn upside-down, and prime away!
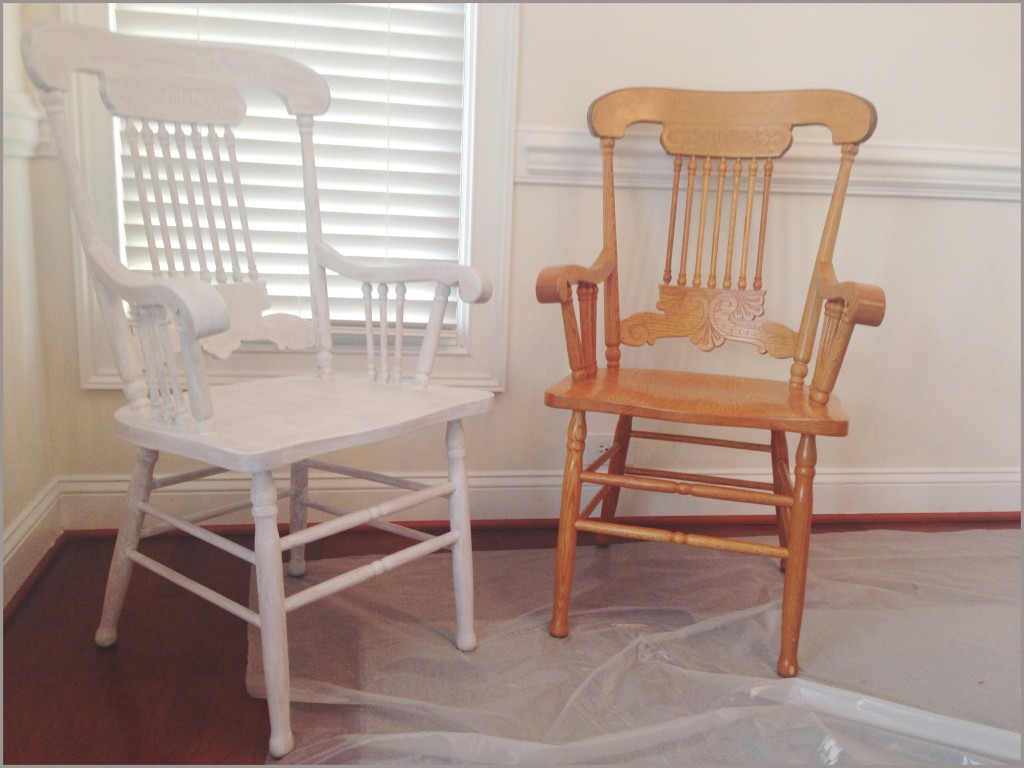
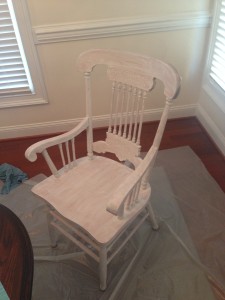 Here she is after just one coat of primer. Not too shabby. And if you’re worried about those strokes, don’t be. The second coat of primer covers much more, and then when you actually paint it, the paint goes on super smooth.
This first coat probably took me over 2.5 hours from start to finish. You really want to make sure you get every square inch. As I mentioned above, this primer is pretty loose, so when I started to get it on there, I really had to give it some TLC. Don’t get impatient. Resist the urge. Crank up some good music, and don’t stop till your chair is good and covered. We’re shooting for lasting furniture, after all. So don’t shy away from putting in some time.
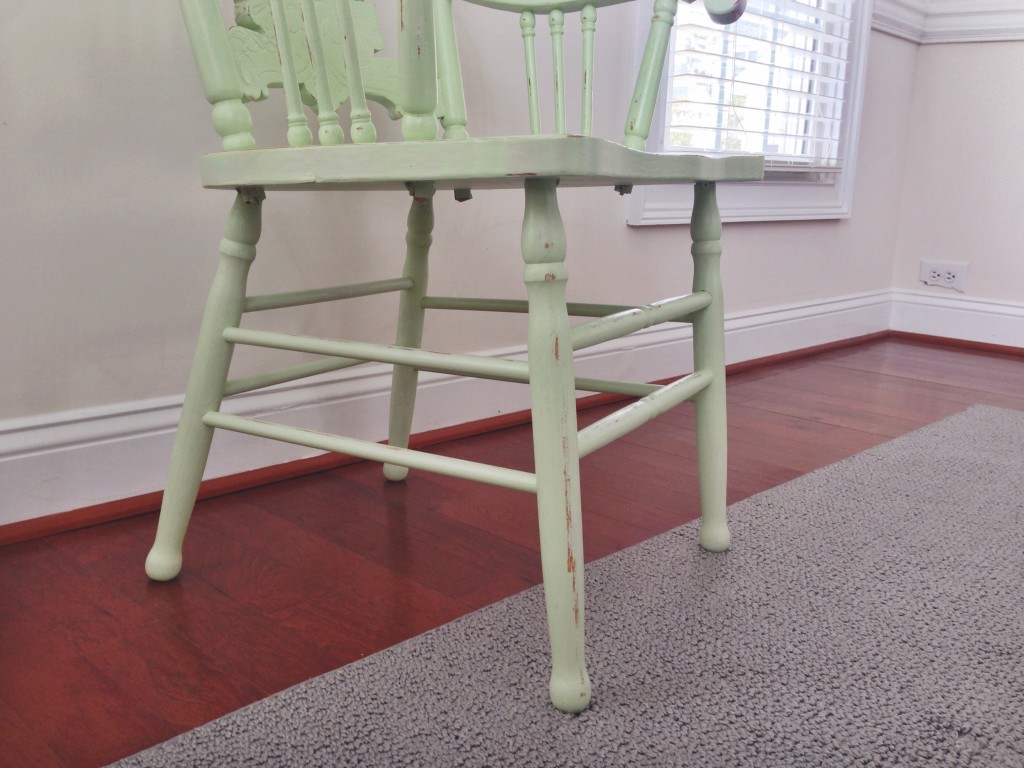
And don’t skip the underside of the chair. I once bought a set of refurbished oak chairs from a Craigslist-er, and the guy (who deemed himself a “furniture refurbishing pro”) didn’t paint the undersides of the set. It always annoyed me. Sure, I get that you don’t see that part of the chair all the time, but still. It will look better in the long run. Good quality furniture equates to quality time.
See the improved difference after primer coat #2?
Here’s where I got so caught up in the work that I failed to take any photos of the process of applying the green paint. But you get the point, right?
A small paint tray, small foam roller, and another foam applicator will aid you in this process. I used the roller first, and did one good coat all over – top and under side – and then went back and filled in the gaps with the foam applicator. Rolled the spindles and everything! The paint gave such good coverage that only one coat sufficed – with the exception of a few touch-ups.
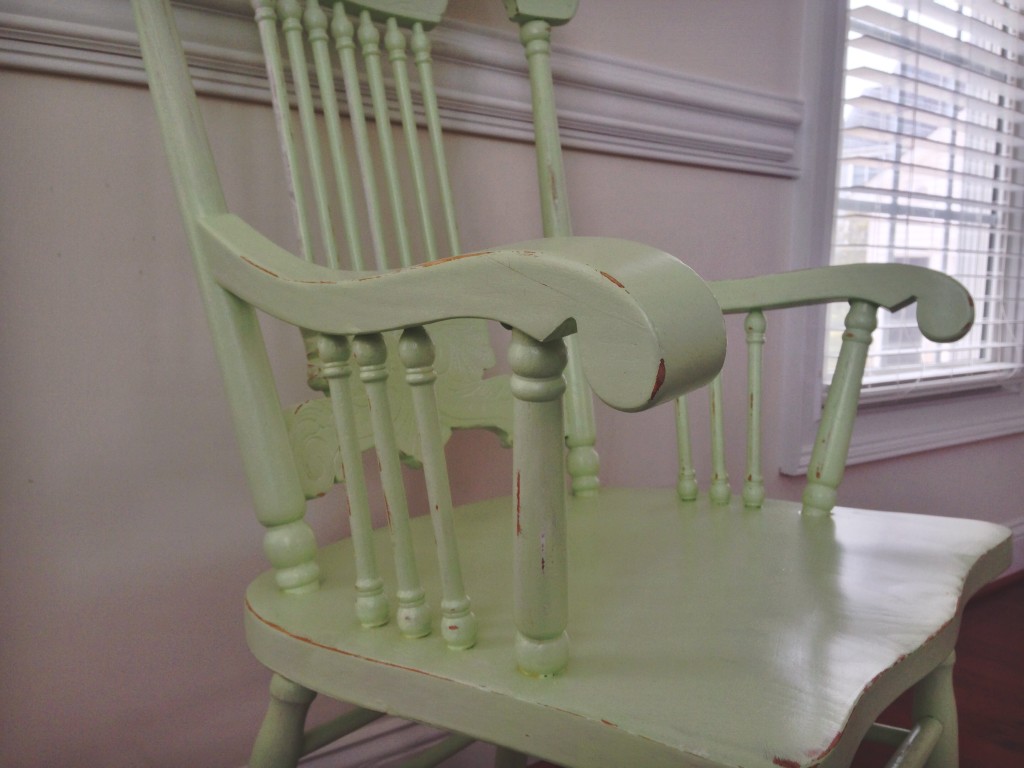
After she dried, I took a good look and decided it needed the edges roughed up. Before the light distressing, I’m not sure how to describe the look other than appearing too painted. Can you picture it? So to add another layer to it all, I just slightly went over the edges and added some minor detailing with a sanding block and 120-grit paper. After that, I stepped back and fell in love. It had look I was going for.
After distressing, I just made sure to wipe her down one more time to get all the dust off, and then I coated her from top to bottom in a coat of Polyurethane by Rust-oleum. This is the same poly I used on the table top. It took my chair from having that freshly painted tacky/sticky feeling, to smooth/cured/ready to be sat on. It’s uber important to seal your paint. Skip this step, and you can guarantee that your paint will eventually peel off in sheets, causing you to have to start all over. Remember the hours you put in already? Chairs get a lot of butt action, they get wiped down, banged up, and they see lots of wear and tear over the years. Protect them. Polyurethane.
And give your chairs a couple of days (at least) to cure. The paint and coating will harden, and feel smooth to the touch, and you will know that they’re ready for use.
That’s it! TA-DA!!
Now. I’ve got five more chairs to do. But at least I have this beauty to inspire me to finish! DIY!
P.S.: Check back soon for the complete set reveal! I WILL get these chairs done!


 Believer. Wife. Mom. Foodie. DIYer. Adoption advocate. Amateur iPhone photographer. On an adventure, learning to embrace every part. And this is where I document it all. Residing in Morrisville, NC with my husband and daughter. Starting afresh every morning.
4 Comments
Thank you so much for the detailed instructions! This is EXACTLY what I was looking for. I have the most awful, hideous old captain’s chair that I’m using with my beautiful new vanity. There’s nothing wrong with the chair except that it’s ugly. Now I know what to do. Thanks again!
I’m so glad you found what you were looking for! I’d love to see your finished product when you get it done! Maybe stop back by and post a photo or link for me to check out! Thanks!!
I love this! I am looking at the exact same table on craigslist for the same reason…a big family table. I just showed my husband to convince him of the transformation possibilities. You said you didn’t use chalk paint on the chairs, what sheen did you use?
Believe it or not, Wendy, I used just a regular latex paint. And then I sealed all of them with a water based polyurethane protective finish. I’ve heard of a lot of people having issues with yellowing from using a polyurethane, but that hasn’t been mine. But if you’re skeptical, you could use a water based polycrylic to seal instead. There might also be some naysayers out there who would probably read my stuff and cringe at my use of latex paint over chalk on my chairs, but I wanted a smoother finish on them as opposed to the chalky finish. And I have to say – they’re used ALL of the time, and they are strong, and durable, and I haven’t had a single issue with them. I actually prefer their finish over that of my table base (done with a DIY chalk paint recipe)! Hope this info helps! I am in love with my dining set and the transformation that came from it! I know you will be, too! Have fun!